How to Find and Remove Duplicate Photos on Mac

Are you a passionate photographer or someone who cherishes capturing extraordinary moments? If you fall into either category, it’s highly likely that your Mac houses an extensive library of photos.
However, as time passes, duplicate images tend to accumulate, occupying valuable storage space and creating an unnecessary mess. Fortunately, the process of locating and removing these duplicates can be easily navigated.
By taking a few steps to remove duplicates, you can regain control of your photo collection, reclaim storage capacity, and enhance your overall Mac usage. Let’s delve into the details and equip you with the necessary knowledge!
Contents
How do I find duplicate photos on Mac?
Duplicate photos eat too much of valuable storage space. This makes it quite challenging to manage and keep your photo library well-organized. Luckily, the Photos app on your Mac includes a powerful feature that can help you identify and manage duplicate photos effortlessly.
Here’s how you can find duplicate photos and regain control over your collection:
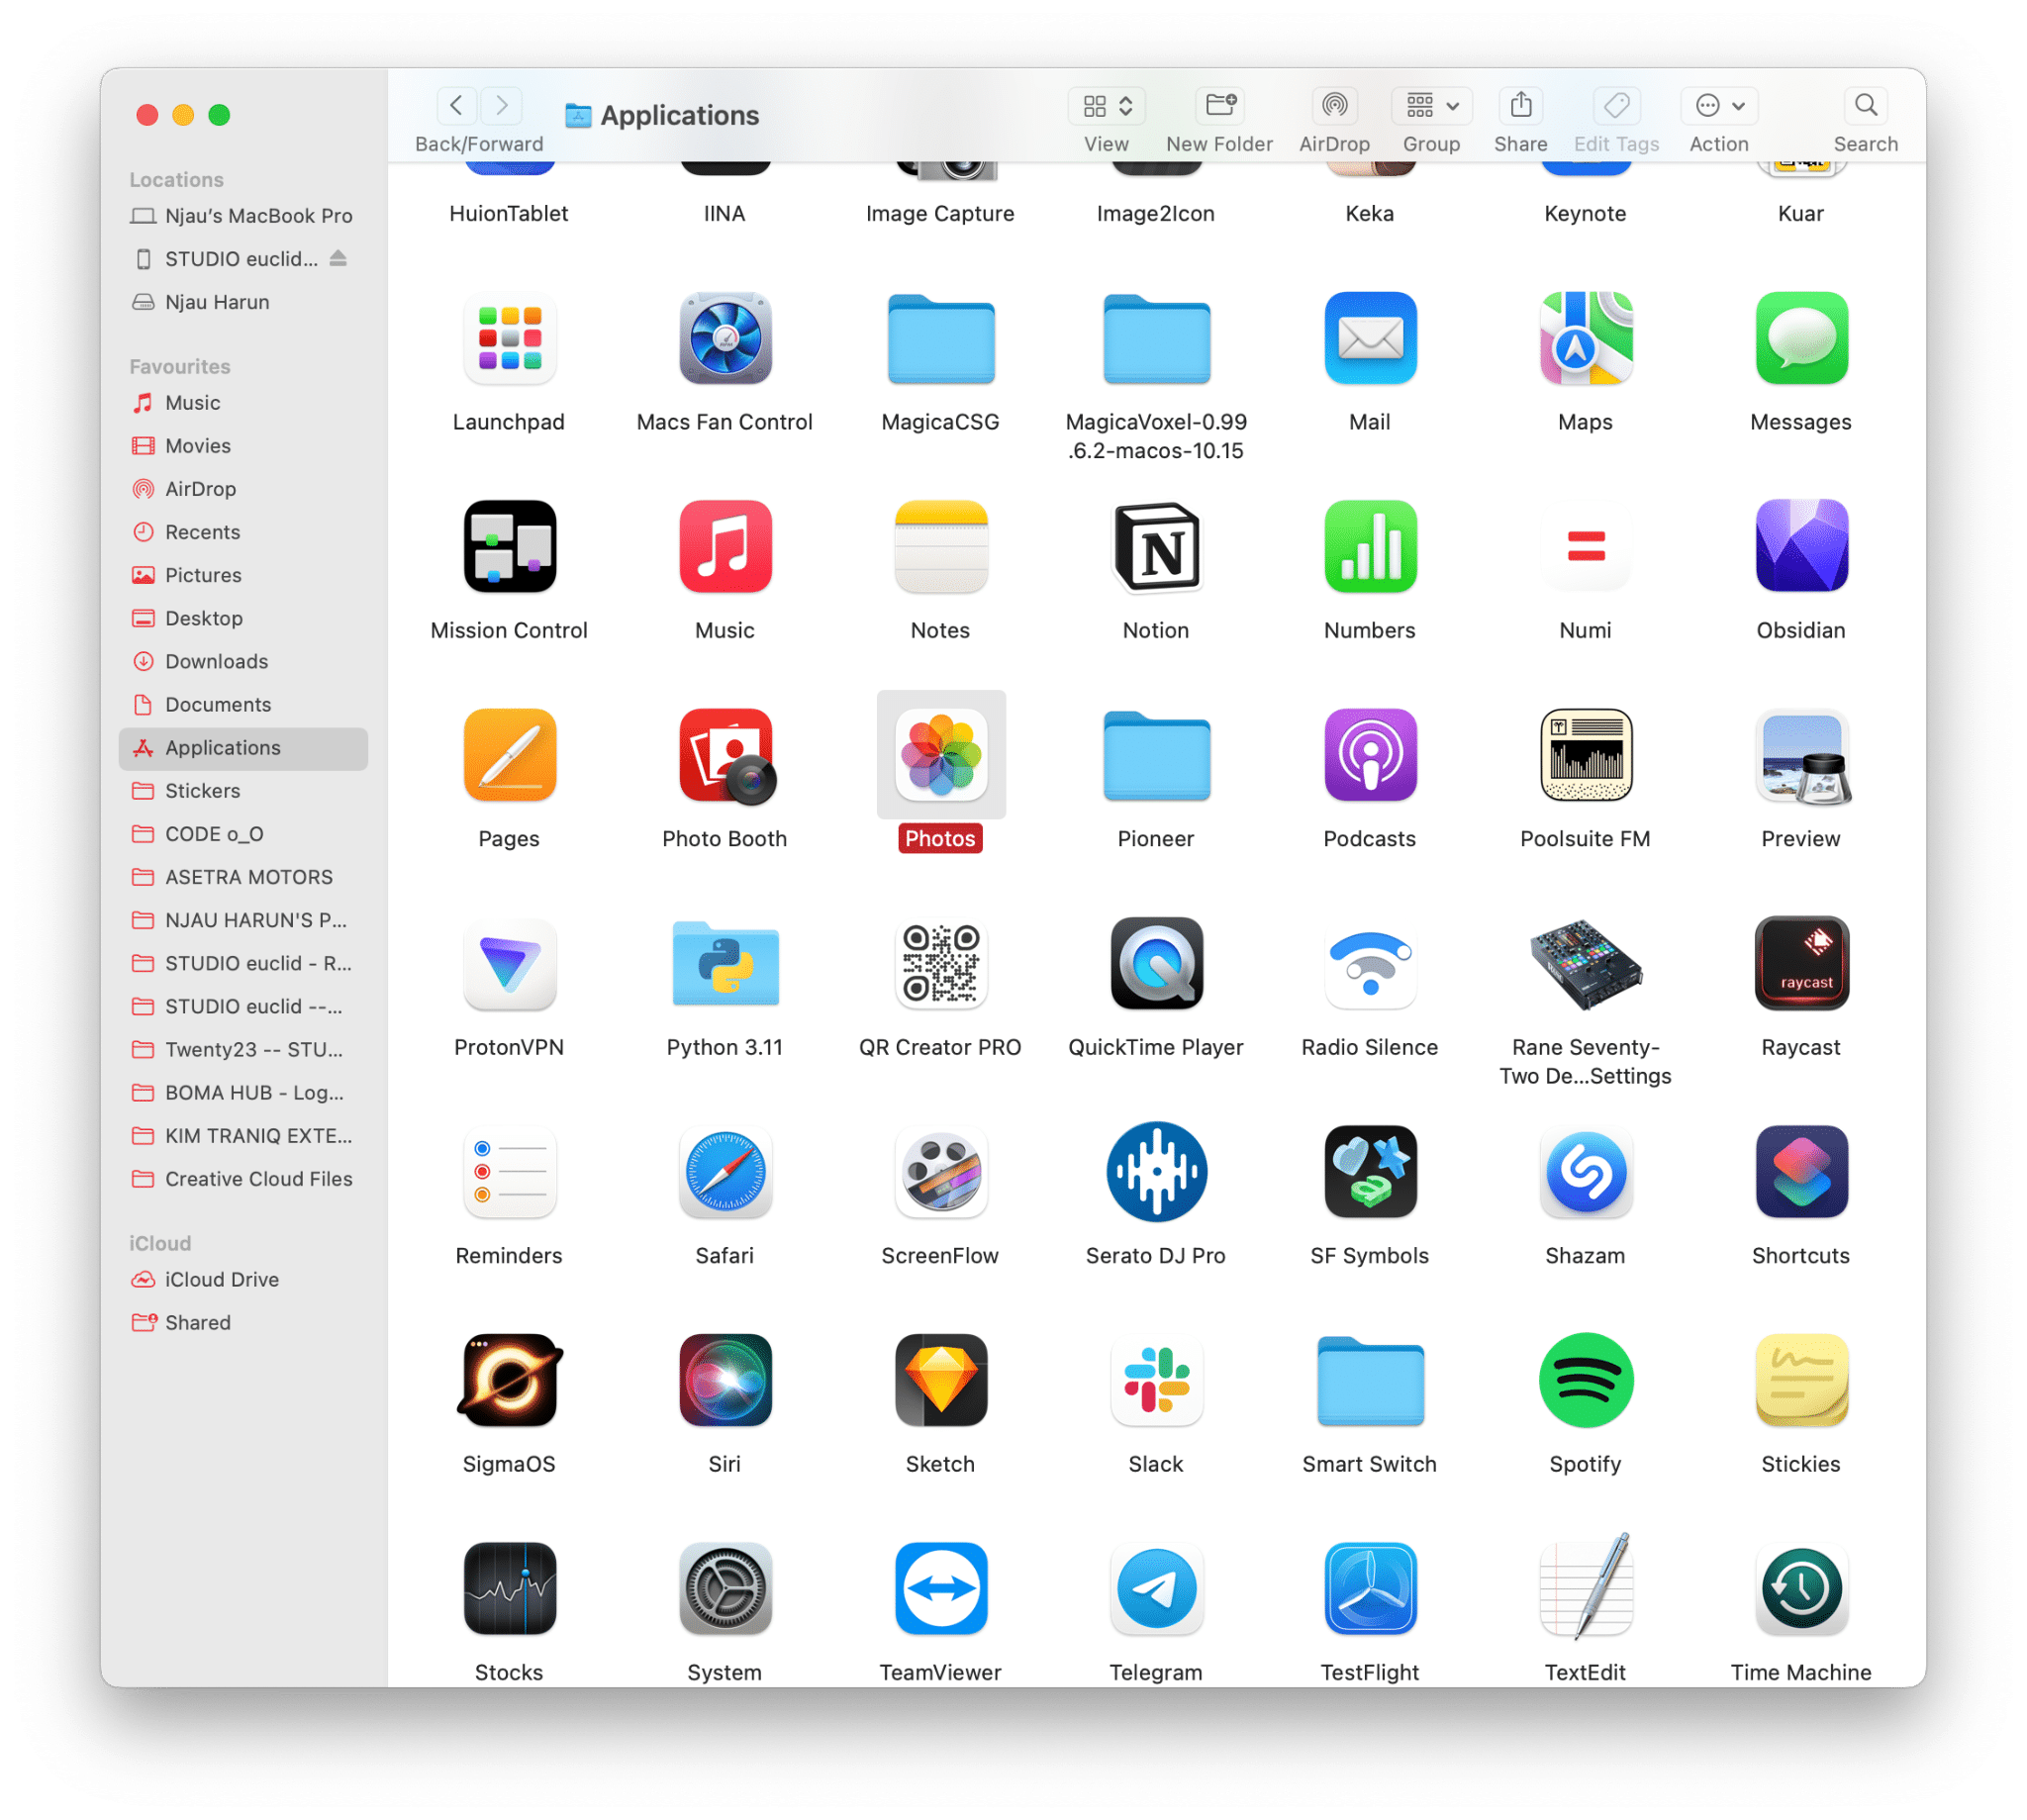
- Open the Photos app on your Mac from your applications folder. This application is your central hub for managing and organizing your photo library.
- Click on the Photos tab to access the All Photos view. You’ll see an entire display of your entire photo collection, making it easier to identify duplicates across the board.
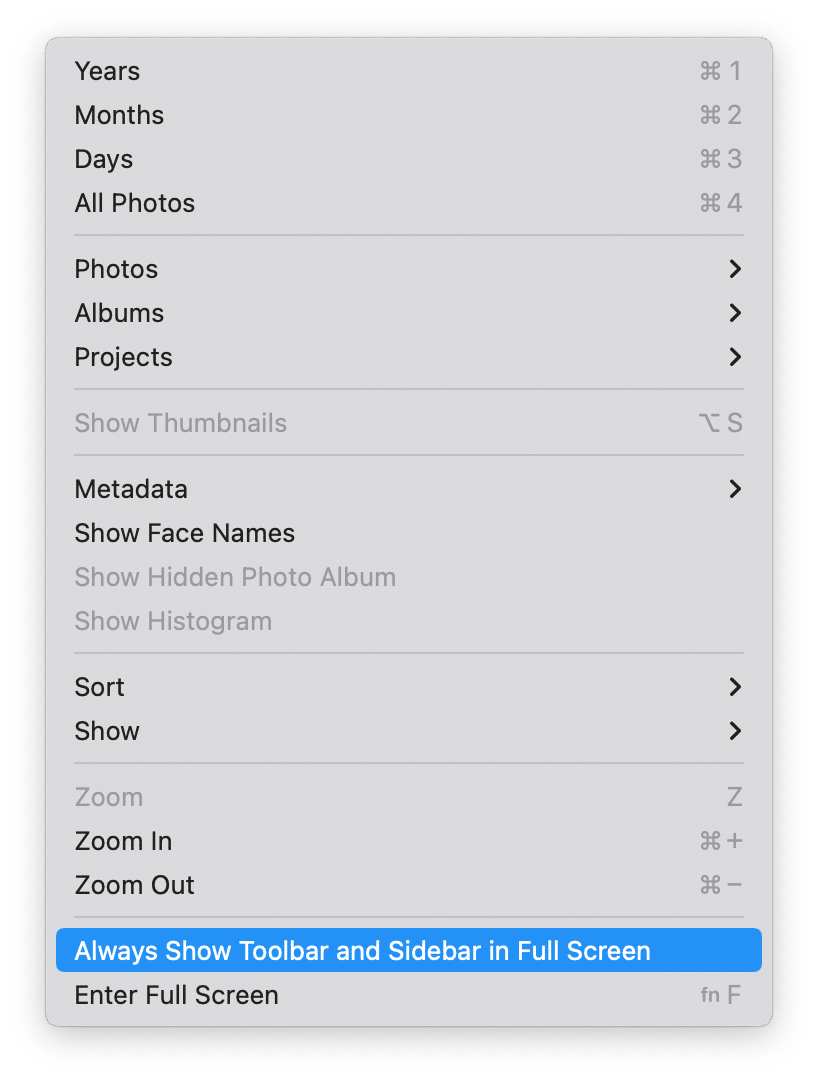
- Click on View in the upper menu on your screen and select Show Sidebar. This grants you easy access to all the relevant sections and options within the Photos app.
- Choose Library in the sidebar to view your entire library. It’s a crucial step for comprehensive duplicate detection.
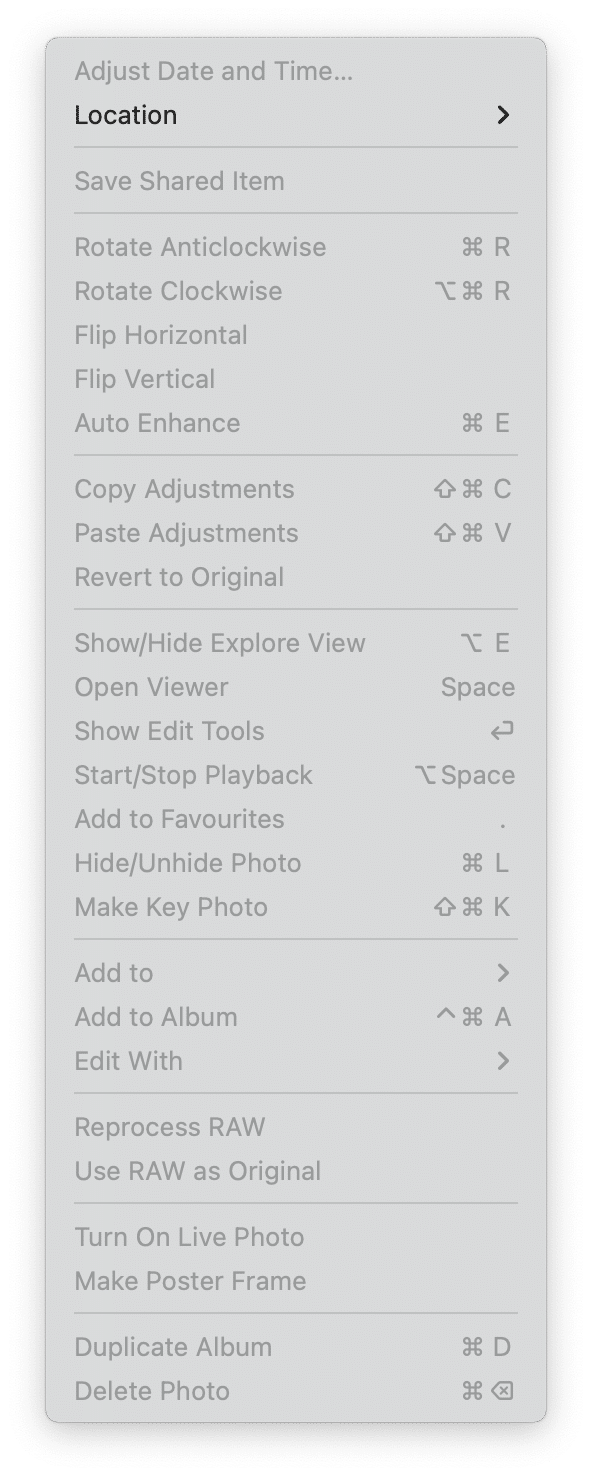
- Again, in the menu bar, click on Image and select Show Duplicate Items. The Photos app will now analyze your photo library and display all the duplicate photos it has detected.
- Review and select duplicates: Browse through the duplicate photos now grouped. Take your time to review each set and select the duplicate photos you wish to remove. Consider factors like image quality and composition to determine the best version to keep.
- Once you have selected the duplicate photos you wish to remove, right-click on them and choose Delete X Photos.
(X represents the number of selected photos). Confirm the deletion when prompted. The Photos app will move the selected duplicates to the Recently Deleted folder. They’ll remain for 30 days before being permanently deleted.
Before deleting any duplicate photos, reviewing them carefully is always a good idea to avoid accidentally removing any valuable or unique shots. Additionally, you can utilize the Recently Deleted folder in the Photos app to recover any mistakenly deleted photos within 30 days.
Tips for optimizing your Mac Photos library
You can maintain a clutter-free and streamlined Mac photo library by optimizing it even further. Below are additional techniques to help you organize and enhance your photo management experience.
Using the duplicates folder in the Photos app
Mac’s Photos app performs all the duplicate image analysis locally, ensuring the privacy of your data. It’s equipped with a handy feature—the duplicates folder that can help you manage your photos library seamlessly.
The feature automatically gathers any detected duplicates, making finding and managing them easy. Here are simple steps to make the most of the duplicates folder:
- Locate the duplicates folder from the Photos app. Click on it to display all the duplicates in chronological order.
- To merge a group of duplicate photos into a single image, click Merge X Items. This action combines all the copies into one, ensuring the highest quality and preserving all associated metadata.
- If you have multiple sets of duplicate photos and want to merge them simultaneously, hold the Command key while selecting different groups. Proceed to click the Merge X Items button located in the top-right corner.
Dealing with duplicates in shared libraries
Sharing an iCloud photo library with a friend or family member can be a convenient way to store and enjoy memories collectively. However, you’ll probably end up with duplicate photos when collaborating in a shared library.
Let’s explore how you can effectively manage duplicates in this scenario:
- Ensure you have the correct library selected: At the top of the Photos app, choose the Shared or Both Libraries option. This ensures you’re viewing the appropriate library where duplicates may be present.
- Dealing with duplicates in shared libraries remains the same as in your library. Use the Duplicates folder to identify and merge duplicate photos by selecting them and clicking Merge X Items.
There are various ways how to remove duplicate photos on Mac. However, merging is always recommended as it retains the best quality of the photos and preserves all essential metadata.
Why you should find and delete duplicate photos on Mac
You don’t want to keep duplicate photos scattered throughout your Mac. While initially seeming inconsequential, it significantly impacts your photo library and overall user experience.
Here are reasons you should take the time to find and delete duplicate photos on your Mac:
1. Reclaim valuable storage space
Duplicate photos consume unnecessary storage, increasing your Mac’s storage capacity. Finding and removing them frees up considerable space for other important files and applications.
2. Streamline photo organization
Maintaining a well-organized photo library on your Mac with duplicate photos scattered all over is difficult. You can establish a streamlined and efficient photo organization system by eliminating duplicates. This will also help you save time finding specific photos you want.
3. Enhance the browsing and viewing experience
When you have only one version of each photo, browsing through your library becomes smoother and more enjoyable. Duplicate photos clutter your photo library, making navigating and enjoying your collection harder.
By deleting duplicates, you can easily locate and view unique photos without the distractions of redundant copies.
4. Facilitate easy sharing and collaboration
Sharing duplicate photos with others can lead to confusion and inefficiency. Removing them allows you to streamline the sharing process, ensuring that you’re sharing only the best versions of your photos. This simplifies collaboration and helps you present your work in the best light.
5. Preserve the integrity of your photo library
Duplicate photos can disrupt the integrity of your photo library, creating a messy and disorganized collection. By actively managing and deleting duplicates, you maintain a clean and reliable photo library that accurately reflects your best shots and cherished memories.
Final thoughts
As a Mac user, you’ll inevitably have duplicate photos cluttered all over your device. While this doesn’t signify any major concern, it may slowly affect your personal experience with the device.
That’s why you should always take time to find and delete duplicate photos on your Mac after a while. It’ll help you reclaim storage space, streamline the organization, and enhance browsing and viewing experiences.
Managing photos on your Mac is also a huge step in preserving the integrity of your photo library.


